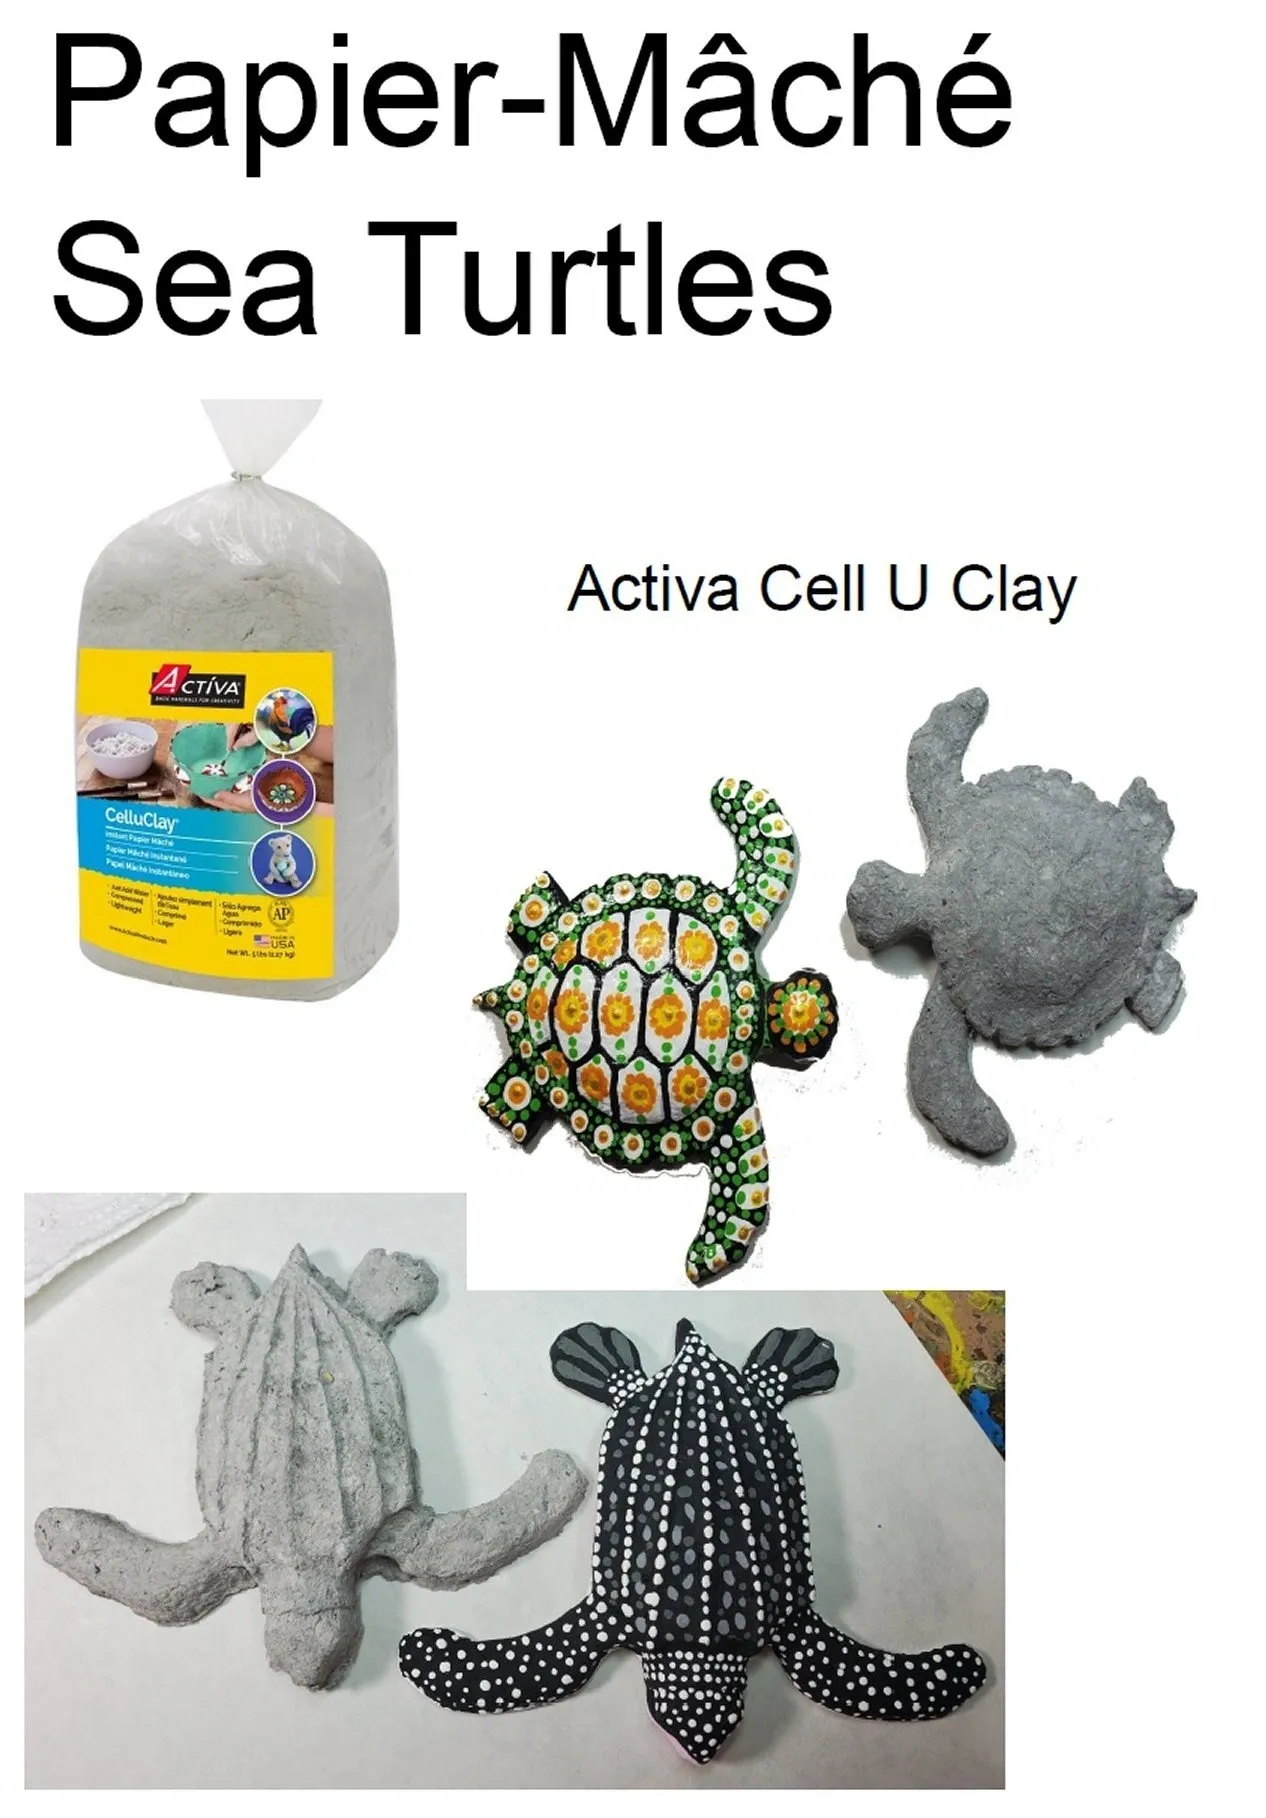
How to Make Sea Turtles with CelluClay
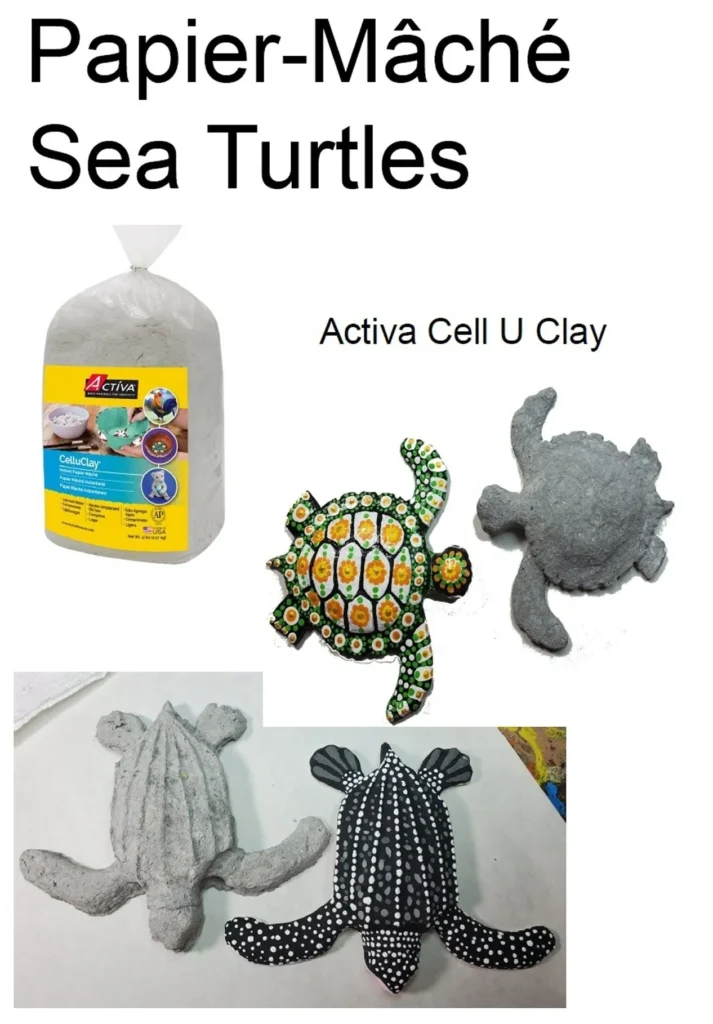
In anticipation of teaching a class this month on how to make, bake and paint sea turtles using the Activa product CellUClay, I put together a tutorial that should explain the step by step process.
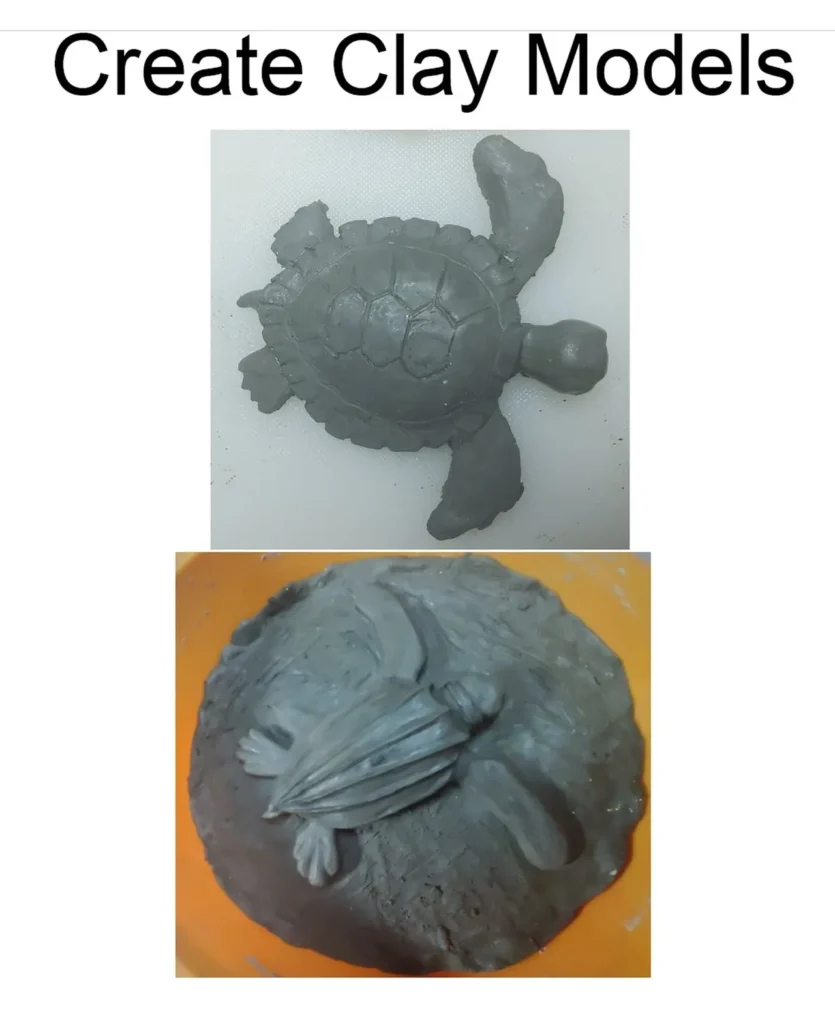
The first step is to create a figurine or sculpture to use as a mold.
I like to use polymer, non-drying clay to sculpt masks, ornaments and, yes, turtles. I’ve found it handy to set my little bucket of clay next to the foot warmer so the clay is always soft and plyable.
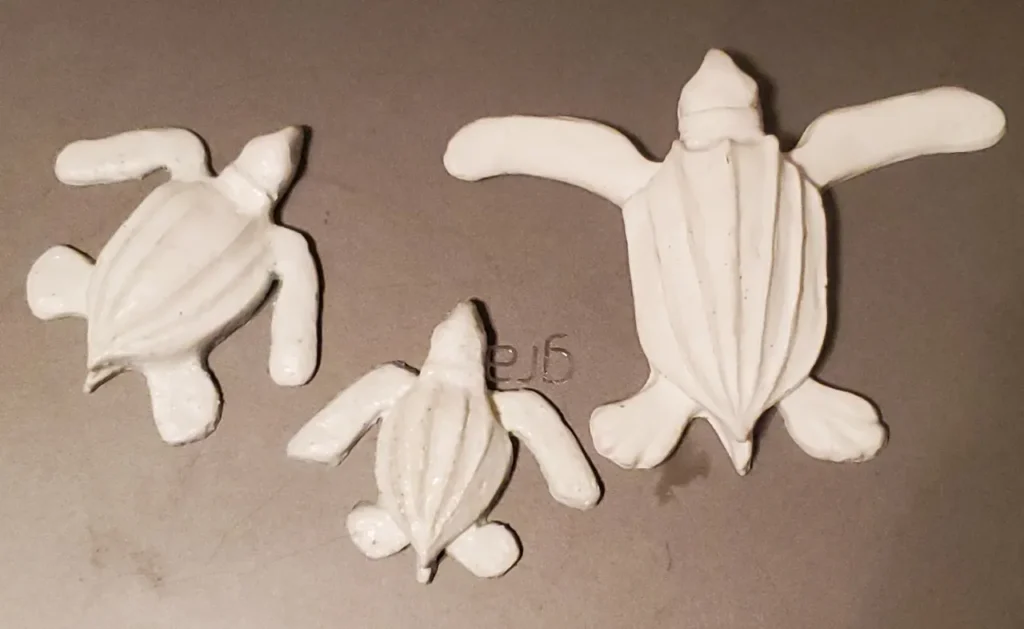
These were my first attempt at baby sea turtle sculptures. They are fairly large as baby sea turtles go, so I kept on trying to get smaller and smaller models.
Success.
I now have three sizes of Leatherbacks. The smallest one is about 2′
Size Matters
The challenge is to make a baby sea turtle that will cook and dry in an oven within a few short hours. Larger paper mache molds can take up to 12 hours to dry.
I like to make permanent casts of the clay sculptures to use as back ups. Eventually the silicone molds break. Having a backup copy is good.
Plus, when grandkids visit I’ve got a bucket of creatures for them to play with.
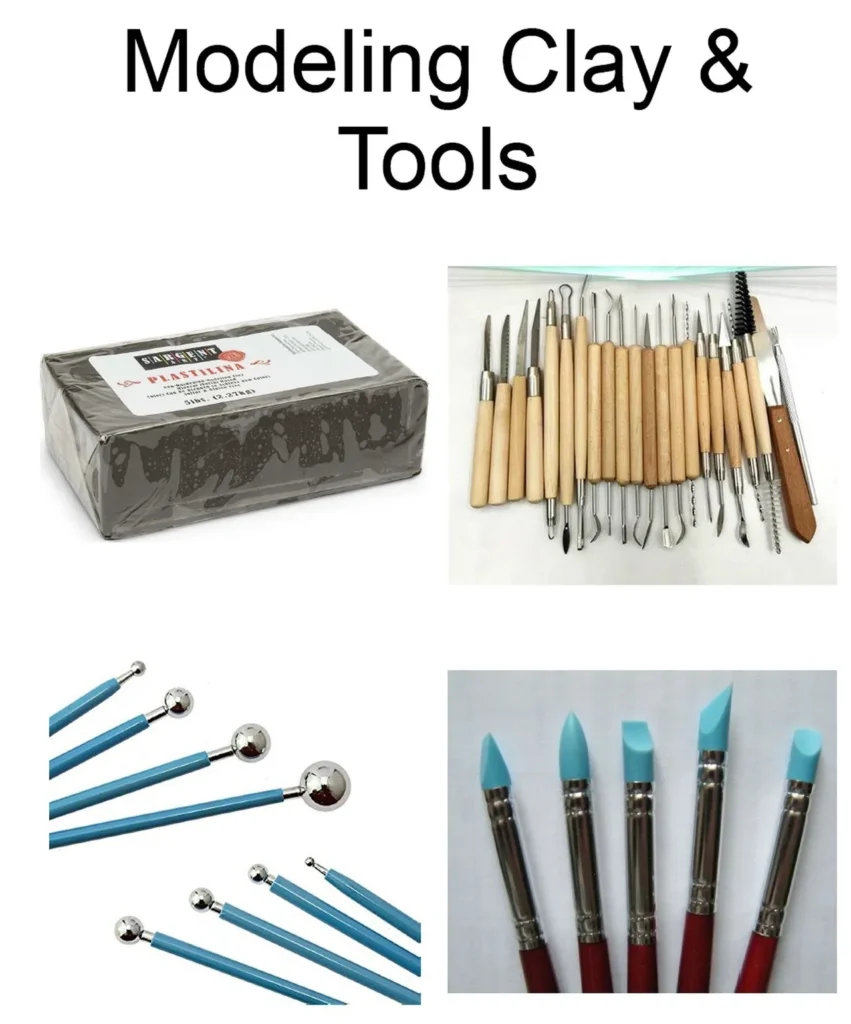
To make a clay model you must have a good selection of clay tools.
I find the blue tools with various sized metal balls quite handy for smoothing out surfaces.
Once you are satisfied with your clay model, prepare it for molding.
I use polymer clay to form the walls of my models simply because it saves a few bucks and the process doesn’t seem to affect the clay.
Spray the clay with a dusting of non-stick spray or vasoline to make de-molding easier once the mold sets.
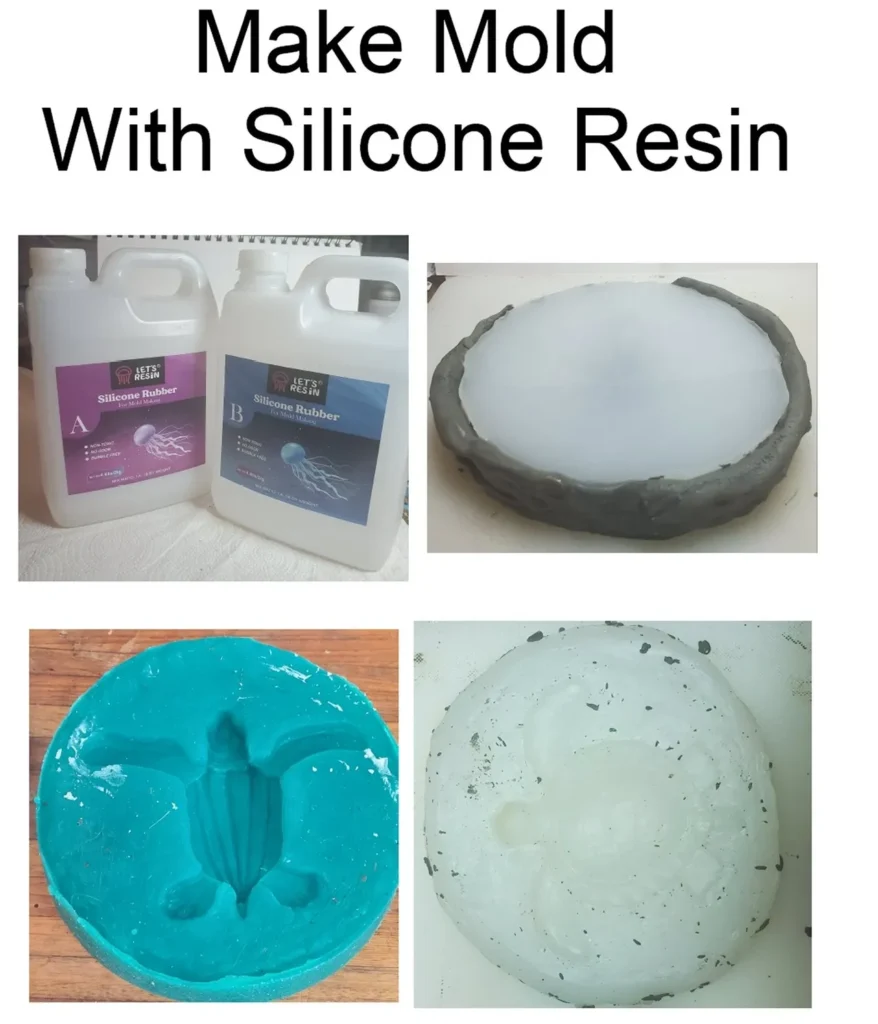
Follow the instructions on the silicone mixtures. Slowly cover the clay model with the well-mixed resin to at least 1/4 ” over the highest point. Wait the appropriate length of time before demolding.
